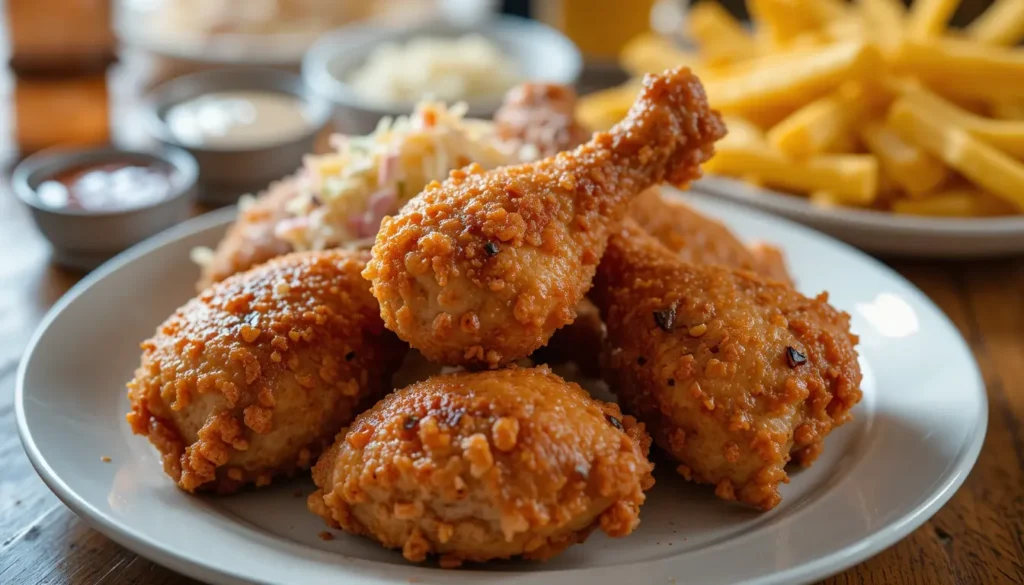
“Crispy on the outside, juicy on the inside – Kennedy Fried Chicken is the hidden gem of American fast food!”
If you’ve ever craved that perfectly seasoned, crunchy fried chicken, but don’t want to break the bank at a fast-food joint, you’re in the right place! Today, we’re diving deep into the Kennedy Fried Chicken recipe, breaking down how to make it from scratch, so you can enjoy that iconic New York-style fried chicken right in your own kitchen.
What makes it so special? Unlike major fast-food chains, Kennedy Fried Chicken is often found in independent, family-run shops, meaning each location adds its own spin on the classic recipe. However, the core flavors remain the same—crunchy, well-seasoned, and absolutely mouthwatering.
Table of Contents
Ingredients for Authentic Kennedy Fried Chicken
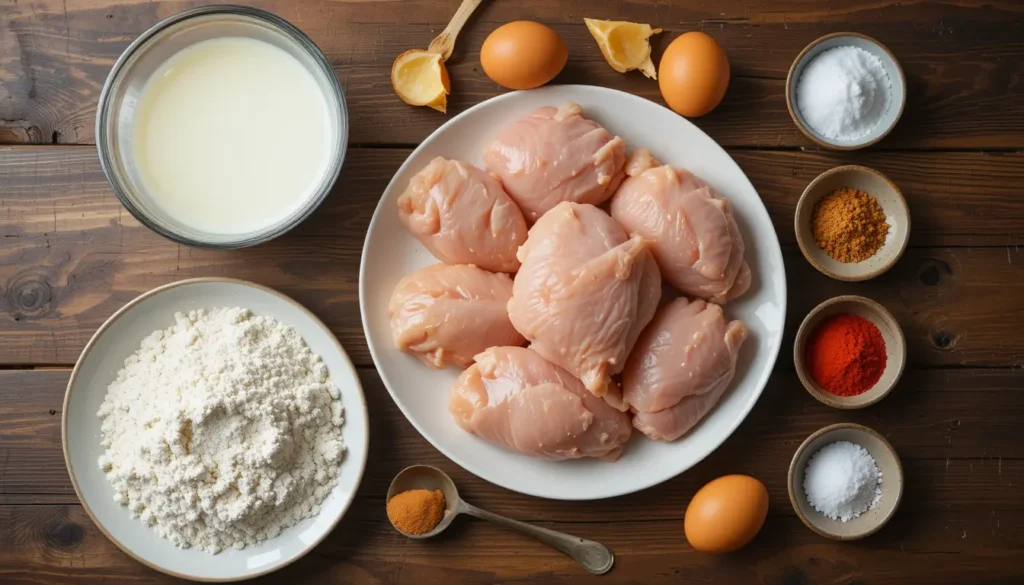
Before we dive into the cooking process, let’s get our ingredients ready. You’ll need a mix of spices, a proper marinade, and a crispy breading to achieve that signature taste.
| Ingredient | Quantity |
|---|---|
| Bone-in Chicken (thighs, drumsticks, wings) | 2 lbs |
| Buttermilk | 2 cups |
| Eggs | 2 large |
| All-Purpose Flour | 2 cups |
| Cornstarch | 1/2 cup |
| Garlic Powder | 1 tbsp |
| Onion Powder | 1 tbsp |
| Paprika | 1 tbsp |
| Cayenne Pepper | 1 tsp |
| Black Pepper | 1 tsp |
| Salt | 1 tsp |
| Baking Powder | 1 tsp |
| Vegetable Oil (for frying) | Enough for deep frying |
Step-by-Step Kennedy Fried Chicken Recipe
Step 1: Preparing the Chicken (Brining & Marination)
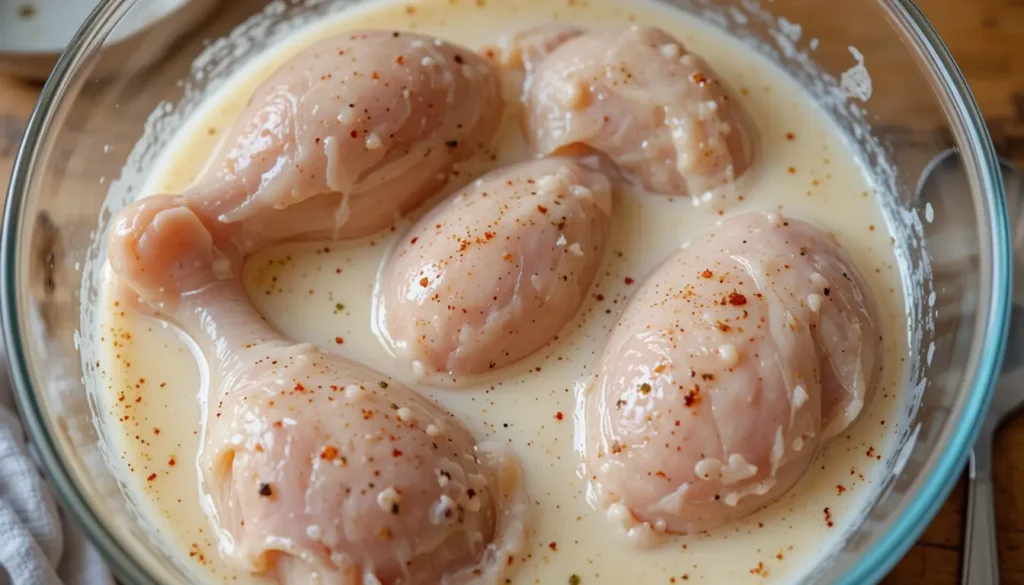
To get that juicy, flavorful chicken, marination is key. The buttermilk helps break down the meat fibers, making the chicken extra tender while infusing it with flavor.
- In a large bowl, mix the buttermilk, eggs, salt, and half of the seasoning (garlic powder, onion powder, paprika, cayenne, black pepper).
- Add the chicken, ensuring each piece is fully submerged.
- Cover and refrigerate for at least 4 hours (overnight is best for maximum flavor!).
Nutrition Facts
| Nutrient | Amount (per serving) |
|---|---|
| Calories | 420 kcal |
| Protein | 28g |
| Fat | 22g |
| Carbohydrates | 32g |
| Sodium | 750mg |
| Cholesterol | 85mg |
Pro Tip: Want even more flavor? Add a splash of hot sauce to the buttermilk marinade!
Step 2: Creating the Signature Breading Mix
Now that your chicken has been marinating, it’s time to coat it in that iconic crispy breading. This step is where the magic happens! The combination of flour, cornstarch, and spices gives the chicken its golden, crunchy texture.
- In a large bowl, whisk together the flour, cornstarch, and the remaining half of the seasoning mix (garlic powder, onion powder, paprika, cayenne, black pepper, salt, and baking powder).
- Remove the chicken from the buttermilk marinade, allowing any excess liquid to drip off.
- Dredge each piece in the seasoned flour mixture, pressing firmly to make sure the coating sticks.
- For extra crunch, dip the chicken back into the buttermilk and coat it in the flour mixture again (double dredging method).
- Place the breaded chicken on a wire rack and let it rest for 10-15 minutes before frying. This helps the coating stick better!
Pro Tip: Cornstarch in the breading creates a lighter, crispier crust compared to using only flour!
Step 3: Frying the Chicken to Perfection
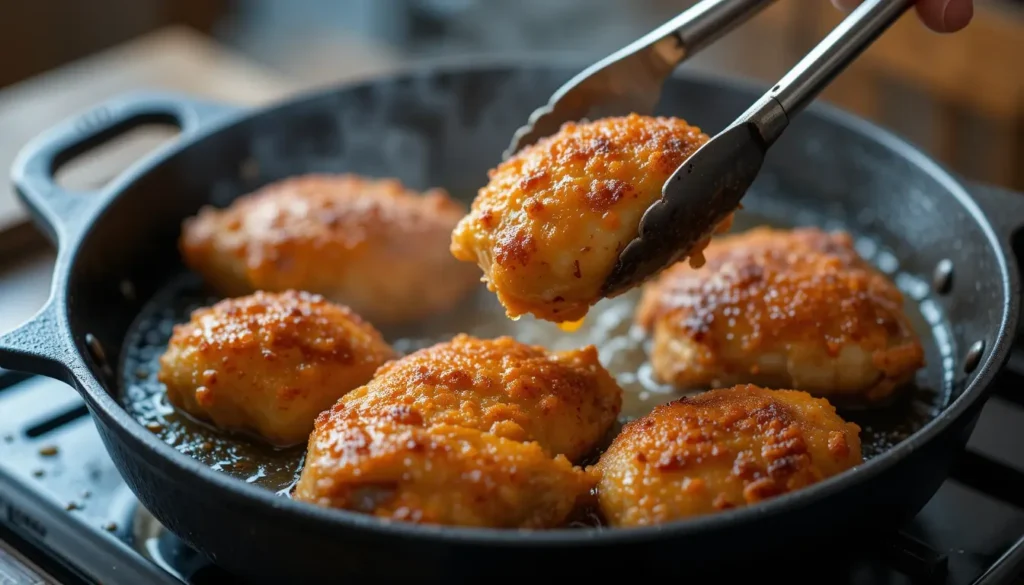
Now comes the exciting part—frying the chicken to golden, crispy perfection! To get that restaurant-quality crunch, follow these steps:
- Heat the oil in a deep fryer or large heavy-bottomed pot to 350°F (175°C).
- Carefully lower a few pieces of chicken into the oil, making sure not to overcrowd the pot.
- Fry each piece for about 12-15 minutes, turning occasionally for even cooking.
- Check the internal temperature using a meat thermometer—chicken is fully cooked at 165°F (74°C).
- Once golden brown and crispy, remove the chicken and place it on a wire rack lined with paper towels to drain excess oil.
Pro Tip: Fry in batches to prevent the oil temperature from dropping, which keeps the coating crispy!
Step 4: Serving Your Kennedy Fried Chicken 🍽️
Congratulations, your homemade Kennedy Fried Chicken is ready! Serve it hot with your favorite sides like:
- 🍟 French fries – Classic and crispy!
- 🥗 Coleslaw – A refreshing contrast to the crunch.
- 🥖 Biscuits – Soft, buttery, and perfect for dipping.
- 🌶️ Hot sauce – For those who love an extra kick!
How to Store & Reheat Kennedy Fried Chicken Without Losing Crunch
Leftovers? No problem! Here’s how to keep your fried chicken crispy and delicious.
Storing Leftover Fried Chicken
- Let the chicken cool completely before storing.
- Place it in an airtight container, separating layers with parchment paper.
- Refrigerate for up to 3 days or freeze for up to 2 months.
Reheating Without Making It Soggy
- Oven Method (Best for Crispiness): Preheat to 375°F (190°C) and bake for 10-15 minutes.
- Air Fryer Method: Set to 350°F (175°C) and heat for 5-7 minutes.
- Skillet Method: Heat on medium for a few minutes to restore the crunch.
⚠️ Avoid microwaving! It makes the coating soggy instead of crispy.
FAQs
What makes Kennedy Fried Chicken different from other fried chicken?
Unlike KFC or Popeyes, Kennedy Fried Chicken has a distinct seasoning mix that’s often spicier and richer. It also uses a unique breading technique that creates an extra crunchy texture.
Can I use boneless chicken for this recipe?
Absolutely! Boneless thighs or tenders work great, but you’ll need to reduce the frying time to 6-8 minutes.
How do I make Kennedy Fried Chicken less greasy?
Use a wire rack after frying to let excess oil drip off, and always fry at the correct temperature to prevent oil absorption.
What’s the best oil for frying Kennedy Fried Chicken?
Peanut oil or vegetable oil works best because they have a high smoke point, ensuring a crispy, golden crust.
Can I marinate the chicken overnight for more flavor?
Yes! Marinating overnight deepens the flavor and makes the chicken extra juicy.
How do I make the chicken extra crispy?
Double-dredging and adding cornstarch to the flour mix make a huge difference in crispiness.
Can I bake Kennedy Fried Chicken instead of frying it?
Yes, but it won’t be as crispy. Bake at 425°F (220°C) for about 35-40 minutes, flipping halfway through.
How long does homemade Kennedy Fried Chicken stay fresh?
In the fridge, it stays good for up to 3 days. In the freezer, it lasts up to 2 months.
What are some good dipping sauces for Kennedy Fried Chicken?
Try honey mustard, ranch, hot sauce, or a spicy mayo dip for an extra kick!
Enjoy Your Homemade Kennedy Fried Chicken!
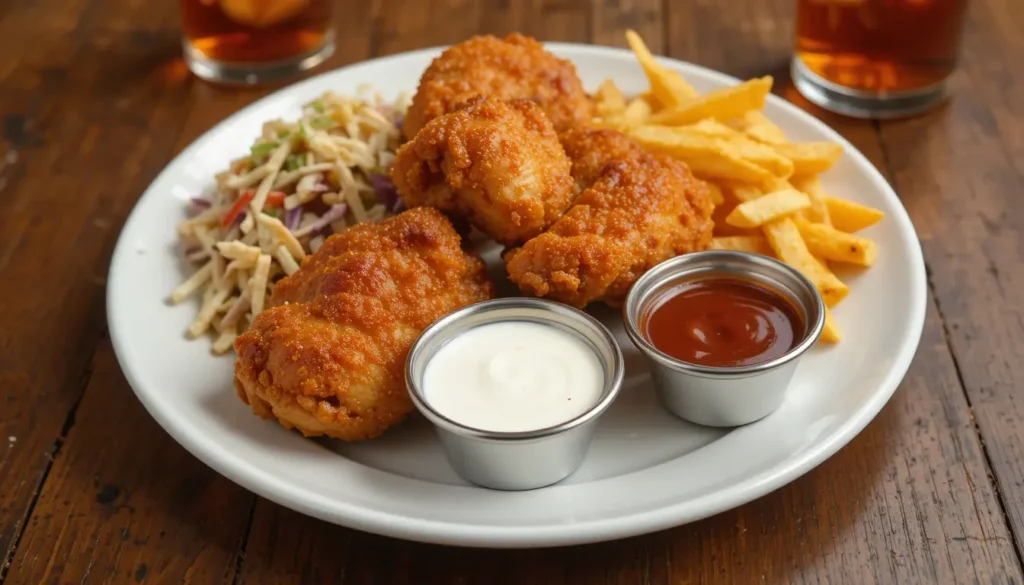
And there you have it—a foolproof way to make Kennedy Fried Chicken at home! With its crispy, flavorful coating and juicy inside, this fried chicken will have you feeling like a pro chef.
If you try this recipe, let us know how it turned out! Share your experience in the comments and don’t forget to serve it up with some classic sides. Happy frying! 🎉
Discover the origins of other classic desserts like lady fingers by “diving into the rich history of these iconic treats.
For small-scale baking enthusiasts, you can “explore small-batch baking ideas for holiday treats” and experiment with festive recipes like chocolate chip cookies.
Print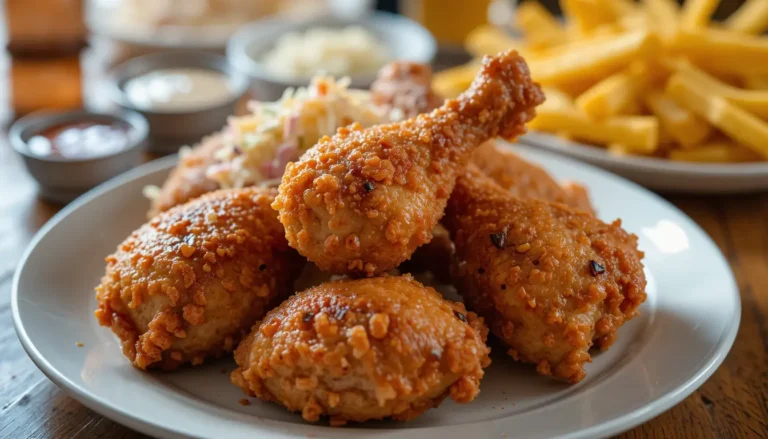
Homemade Kennedy Fried Chicken
Golden, crispy, and irresistibly juicy! This homemade Kennedy Fried Chicken recipe brings the perfect crunch with a flavorful, seasoned coating. 😋
- Total Time: 30 Min
Ingredients
- 4 bone-in chicken thighs
- 4 bone-in chicken drumsticks
- 2 cups all-purpose flour
- 1 cup buttermilk
- 1 egg
- 1 teaspoon salt
- 1 teaspoon black pepper
- 1 teaspoon garlic powder
- 1 teaspoon onion powder
- 1 teaspoon smoked paprika
- 1 teaspoon cayenne pepper
- 1 teaspoon dried oregano
- 1 teaspoon dried basil
- 1 teaspoon baking powder
- 1/2 teaspoon white pepper
- Vegetable oil (for frying)
Instructions
- In a bowl, whisk buttermilk and egg together. Add chicken pieces, cover, and refrigerate for at least 2 hours or overnight.
- In another bowl, mix flour, salt, black pepper, garlic powder, onion powder, paprika, cayenne, oregano, basil, baking powder, and white pepper.
- Heat vegetable oil in a deep fryer or large skillet to 350°F (175°C).
- Remove chicken from buttermilk mixture, letting excess drip off. Dredge in seasoned flour, pressing to coat evenly.
- Carefully place chicken in hot oil, frying in batches to avoid overcrowding. Fry each piece for 12-15 minutes, turning occasionally, until golden brown and internal temperature reaches 165°F (75°C).
- Transfer to a wire rack over a baking sheet to drain excess oil.
- Serve hot with your favorite sides.
- Prep Time: 15 Min
- Cook Time: 15 Min
Nutrition
- Serving Size: 4
- Calories: 380 per serving

